Google Sheets Extension
Actable AI enables analysis of data with our provided models directly in your Google Sheets file. This documentation will cover how this can be done, as follows:
Install the Extension
Warning
Before using the plugin, please ensure that your browser is only linked with one Google account. There is a known issue with regards to Google add-ons authentication when you have multiple accounts linked in the browser.
The Actable AI extension is available on the official Google Workspace Marketplace. To install our extension, follow these steps:
Open the sheet you want to analyse, then click on Extensions > Add-ons > Get add-ons:

The Google Workspace Marketplace window pops up on top of your sheet. Search for Actable AI:
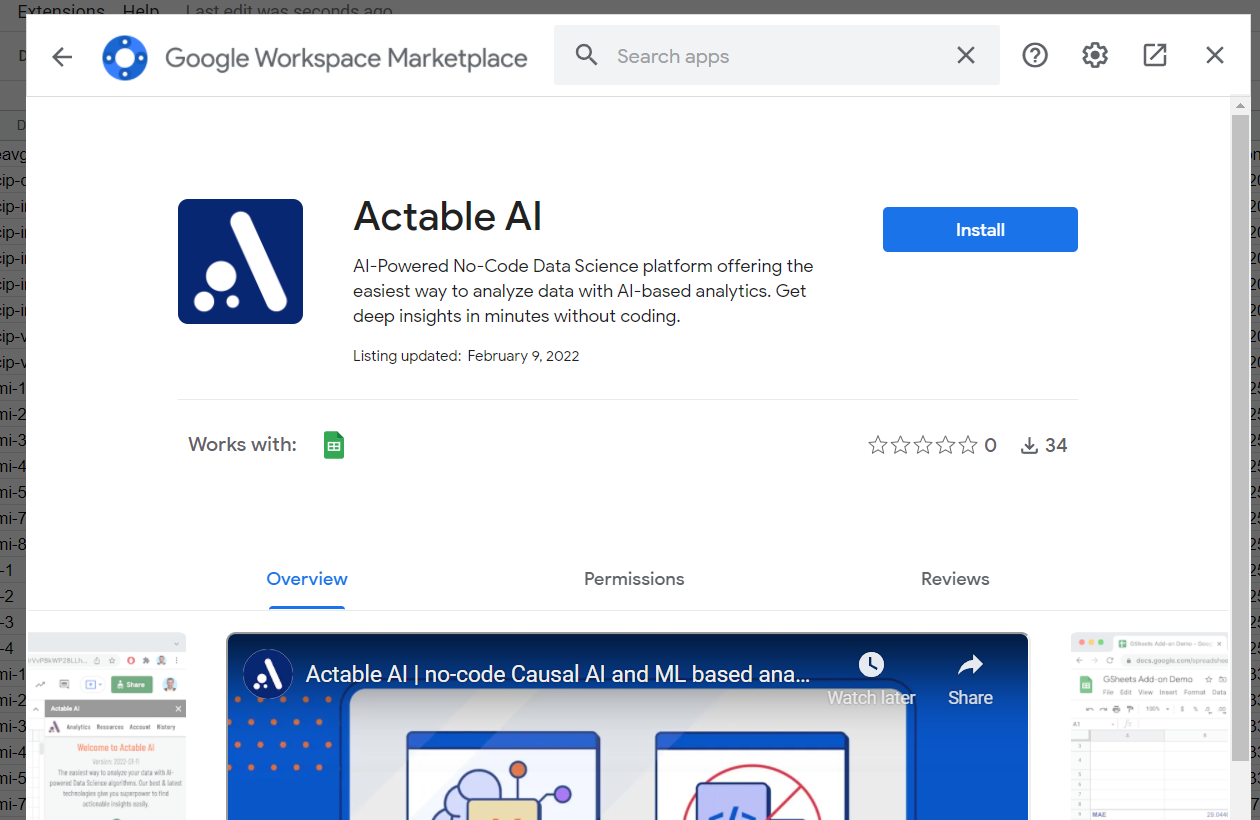
Click the install button and grant permission to our plugin.
Note
We respect users’ data and will not keep any of your sheets on our servers.
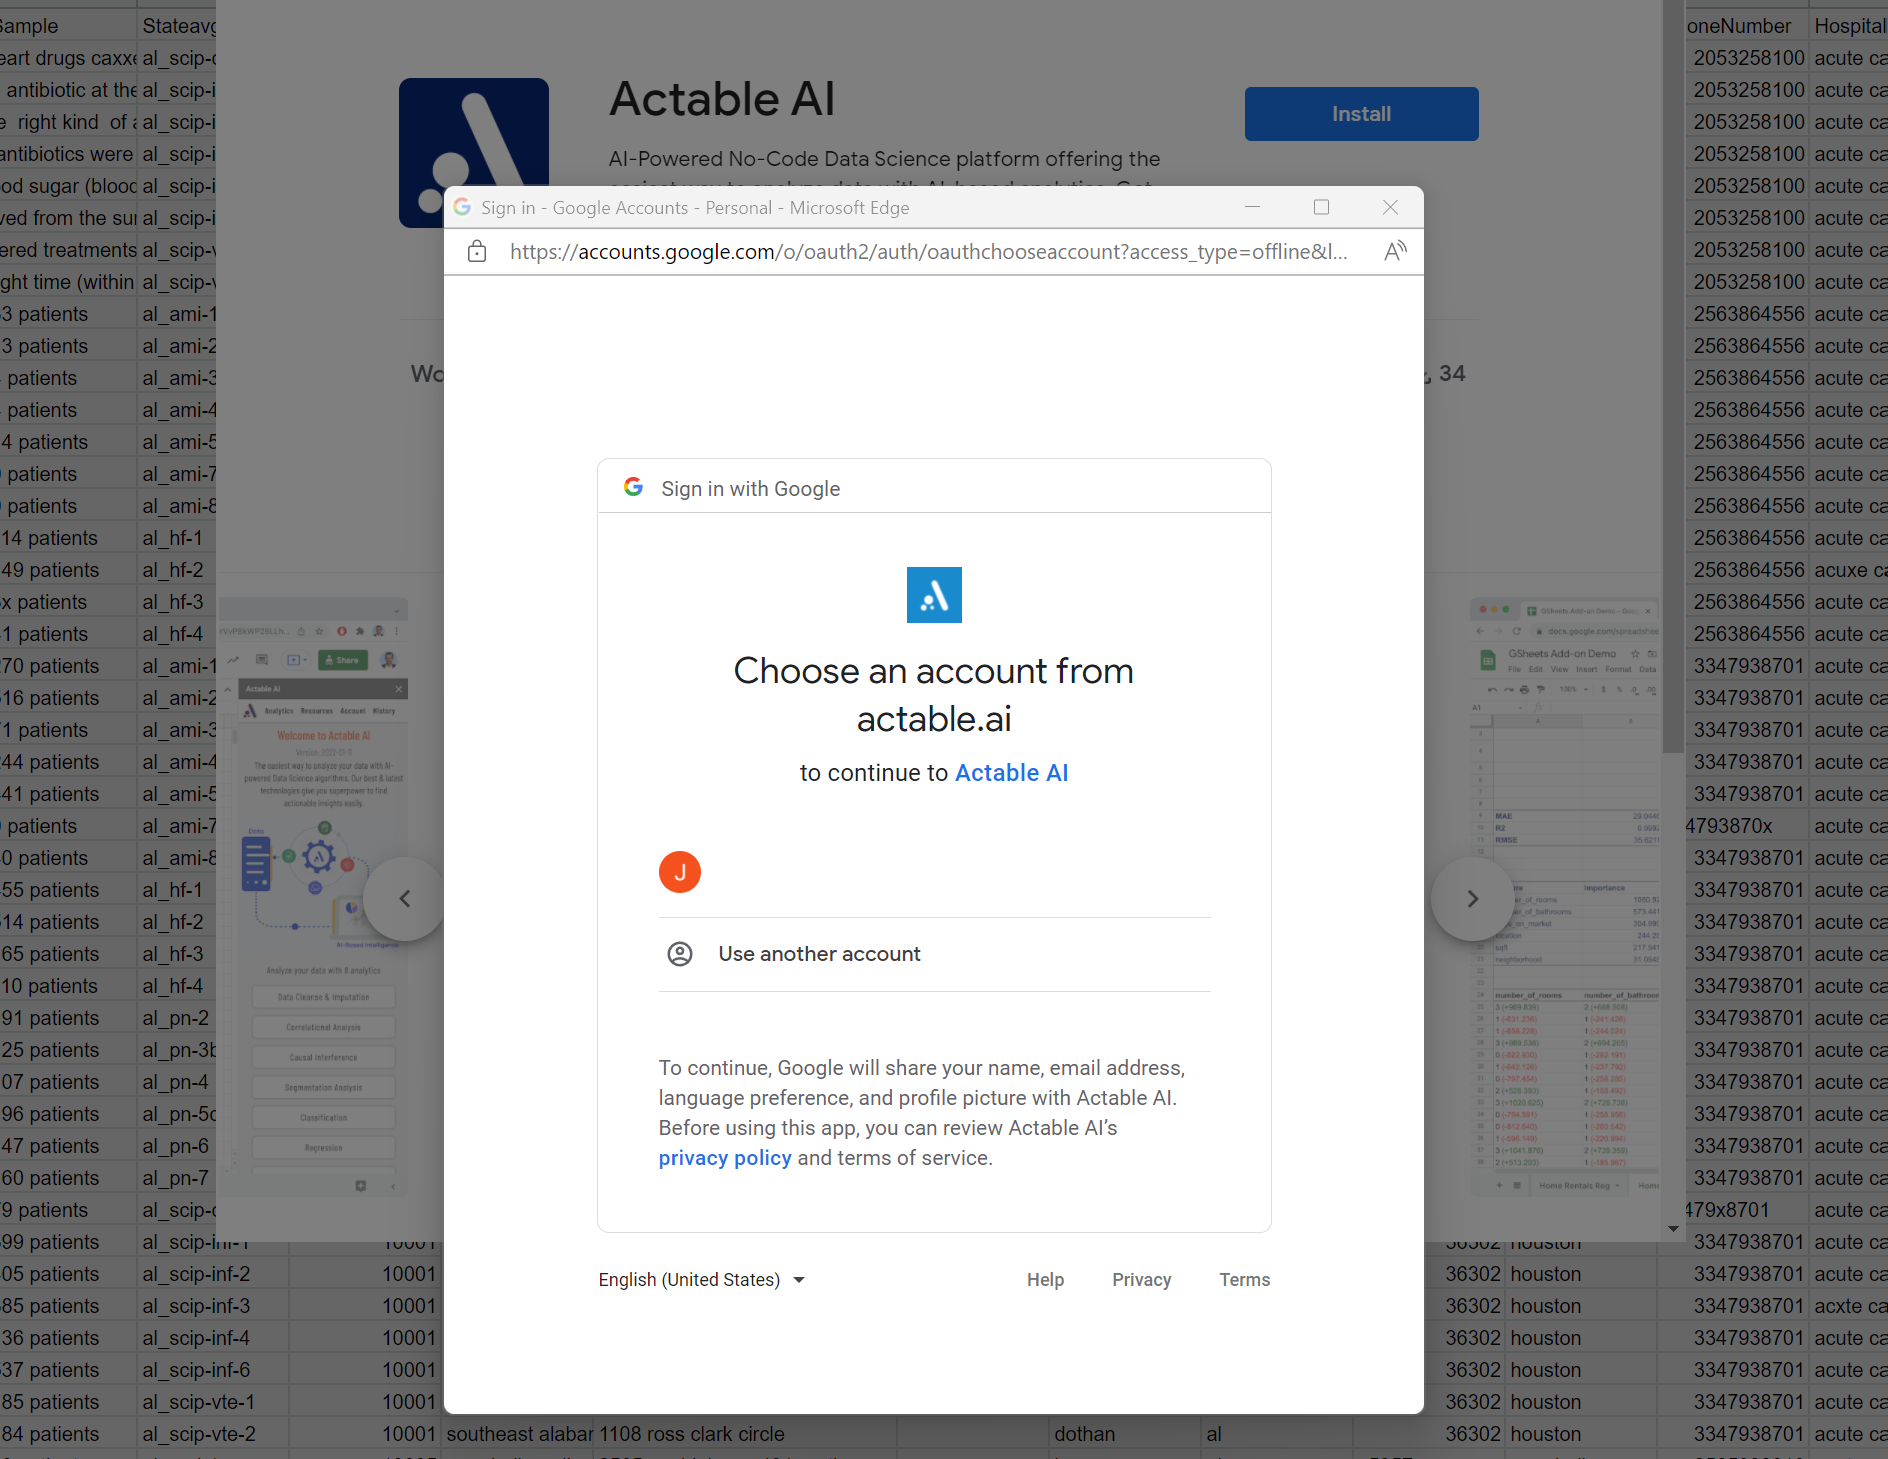
Choose the account that you would like to use and fow which access will be allowed:
Congratulations, you have successfully installed the plugin!
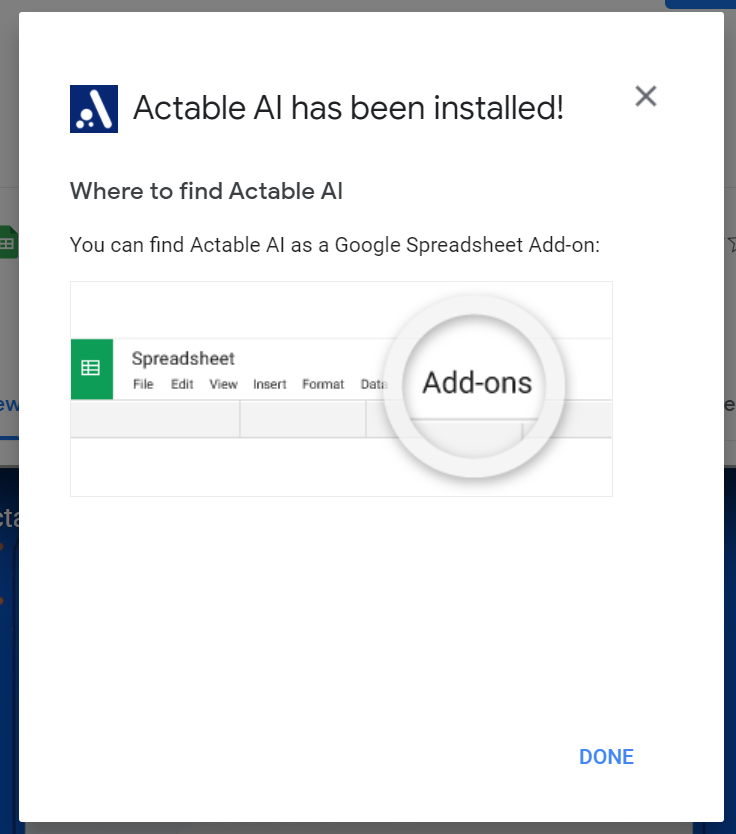
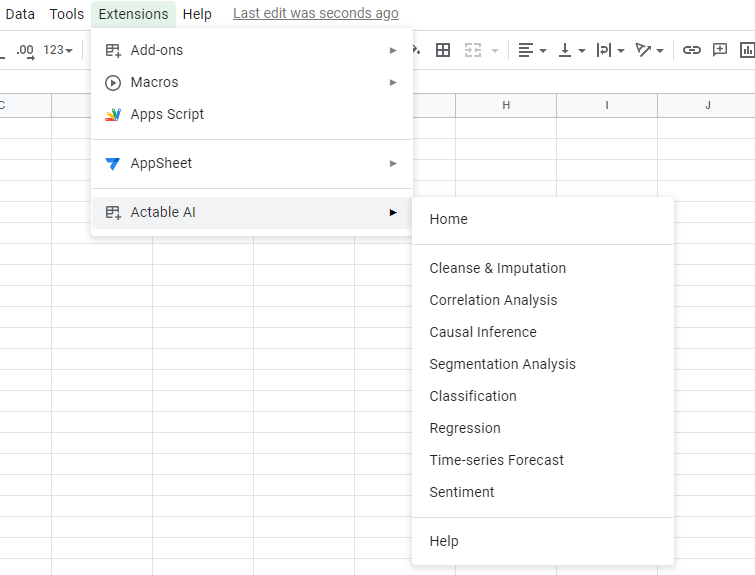
By clicking the Home button, the side panel will open and the Actable AI plugin is ready to use.

Supported Analytics
The Actable AI Google Sheet add-on supports multiple analytics:
Case Study
Note
📺 Video tutorial also available here.
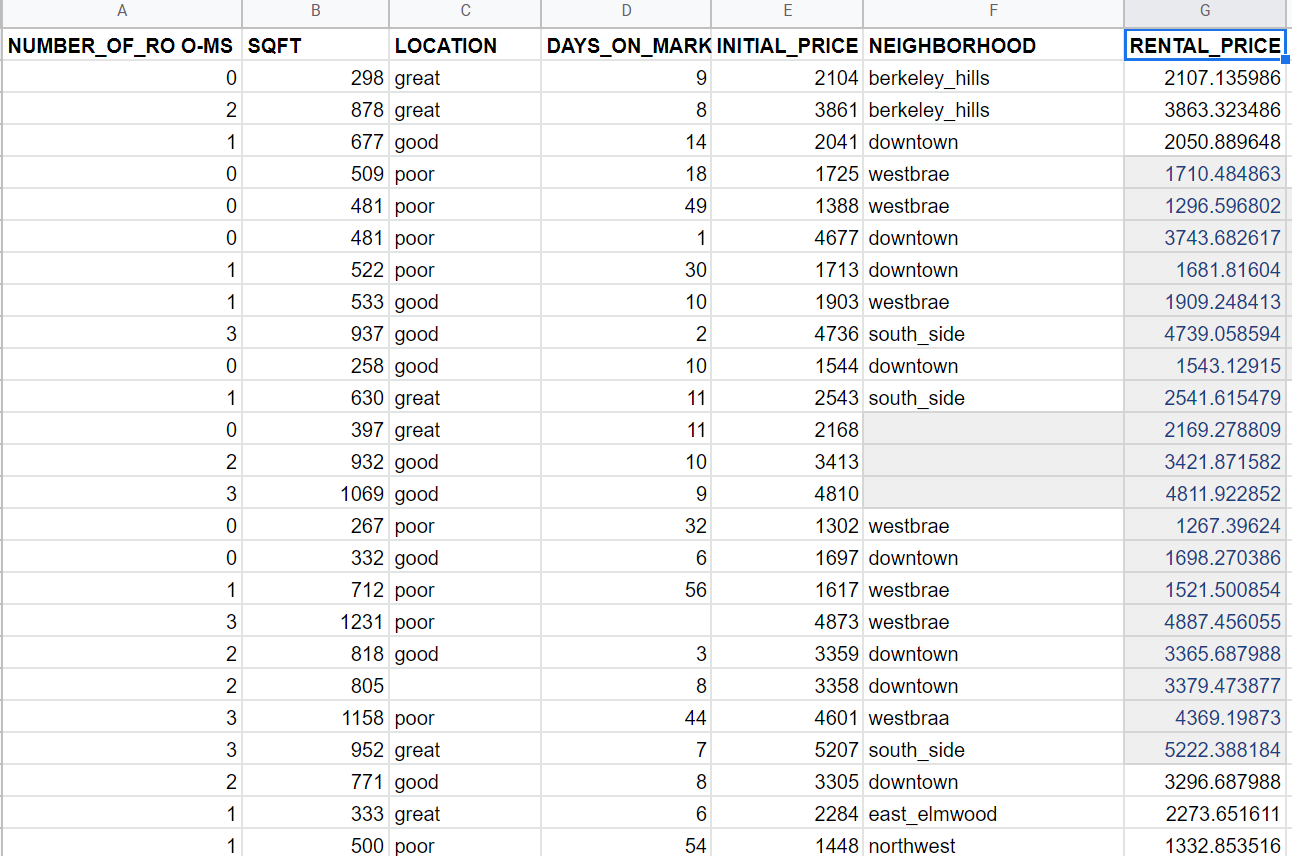
For example, we have a sheet that describes apartment rental prices as follows:
NUMBER_OF_ROOMS |
SQFT |
LOCATION |
DAYS_ON_MARKET |
INITIAL_PRICE |
NEIGHBORHOOD |
RENTAL_PRICE |
|---|---|---|---|---|---|---|
2 |
878 |
great |
8 |
3861 |
berkeley_hills |
3863.323486 |
2 |
771 |
good |
8 |
3305 |
downtown |
3296.687988 |
1 |
333 |
great |
6 |
2284 |
east_elmwood |
2273.651611 |
1 |
500 |
poor |
54 |
1448 |
northwest |
1332.853516 |
3 |
1104 |
poor |
16 |
4750 |
westbrae |
|
1 |
543 |
poor |
18 |
1871 |
westbrae |
|
2 |
872 |
good |
14 |
3375 |
west_welmwood |
3373.663818 |
1 |
673 |
great |
7 |
2604 |
south_side |
2583.209473 |
As you may observe, some rental prices are missing and we would like to predict them. To achieve this, we can use the regression analytic provided by Actable AI.
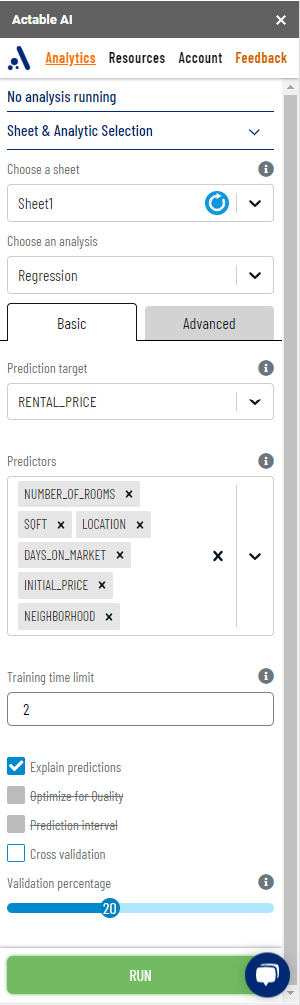
Let’s choose RENTAL_PRICE as the target and the rest of the columns as the predictors. Moreover, we enable Explain predictions to allow us to review the model later. Your setting should look like this in the Basic tab:
More advanced options may also be available in the Advanced tab:
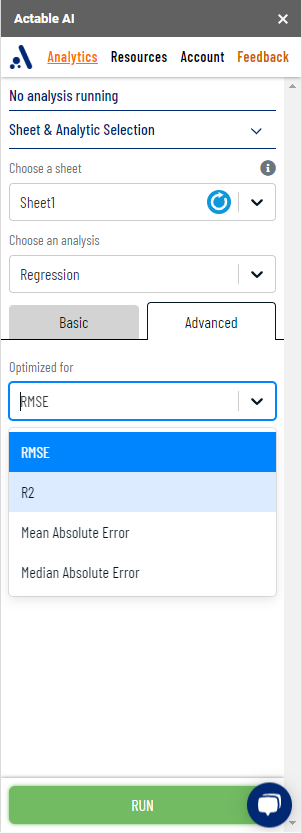
For more information on the parameters available, please refer to the Regression documentation.
Note
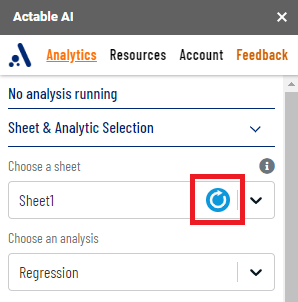
Before selecting the prediction target and predictors, and before running the desired analytics, remember to press the ‘Refresh’ button (shown in the picture below) to ensure that the add-on is using the most up-to-date version of the data in the sheet.
Review Result
Please wait patiently, the model will be ready in a few moments. Once ready, the predicted results are shown in blue:
Actable AI provides not only the results but also the confidence of our model. Please check the automatically created sheet that is named using the format <original-sheet-name>_<analytics_type>_validation_<date time>:

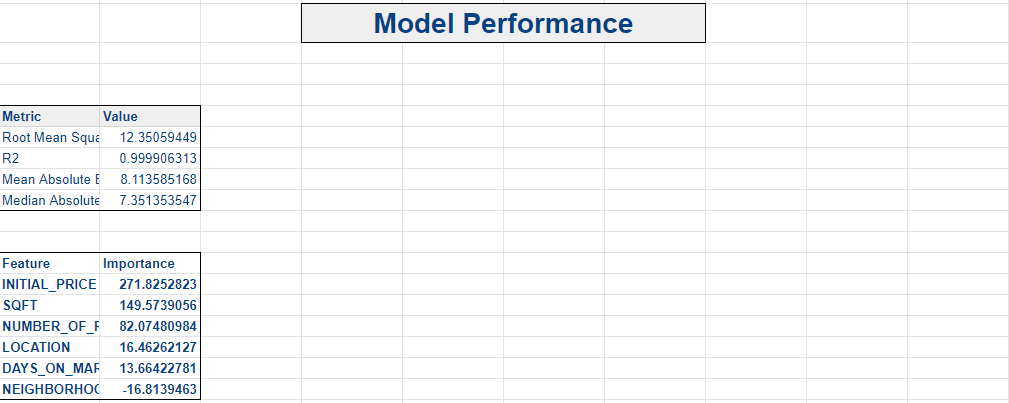
Actable AI provides multiple validation metrics in the Model Performance section with which you can evaluate the model that was just trained, such as Mean Absolute Error (MAE), Root Mean Squared Error (RMSE) and R-Squared (R2). Our R2 value for predicted data is approximately 0.999906 in this example.
In addition to the validation metrics, Actable AI also indicates which feature contributes the most/least to the target, as shown in the image below. As you may notice, there is also a Feature-Importance table in the validation sheet. In this example, the INITIAL_PRICE contributes the most to the RENTAL_PRICE. However, to understand more about the causes for the rental price, we would strongly recommend that the Causal Inference analytic is used.
Different metrics may also be shown depending on the analytic chosen. For example, a confusion matrix is shown when performing classification.
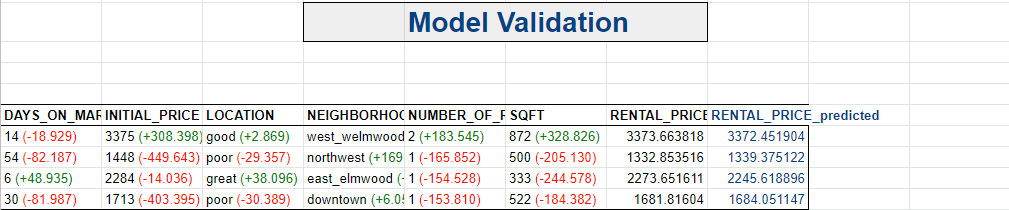
The table at the bottom of this sheet in the Model Validation section contains the validation details, as shown in the image below. To provide the model confidence, Actable AI randomly samples a part of the table as the Validation set, and runs the prediction on this subset of data to calculate the errors. The size of the validation sample is controlled by the slider validation percentage in the control panel. If the Explain predictions option is selected, Shapley values corresponding to a feature’s contribution on the predicted result is also shown:
If any samples contain missing values, these are predicted and shown in Result Explanation section:

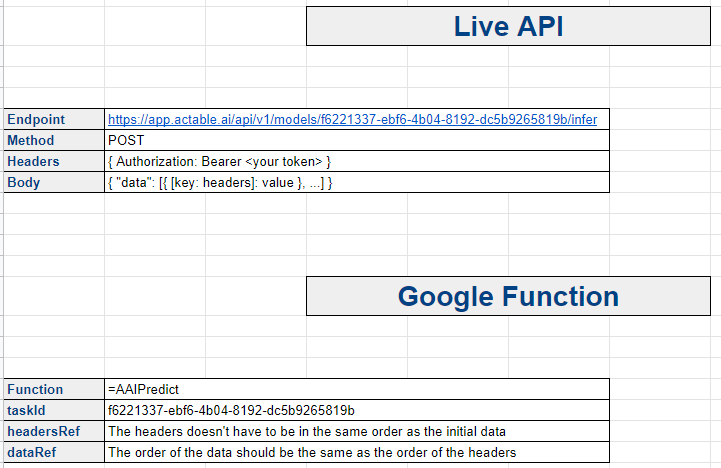
Additional information may also be shown in the sheet, such as details pertaining to the Live API and Google Function:
Using the trained model in Google Sheets
The trained model can easily be used to predict any other required values in the sheet (or any other sheet).
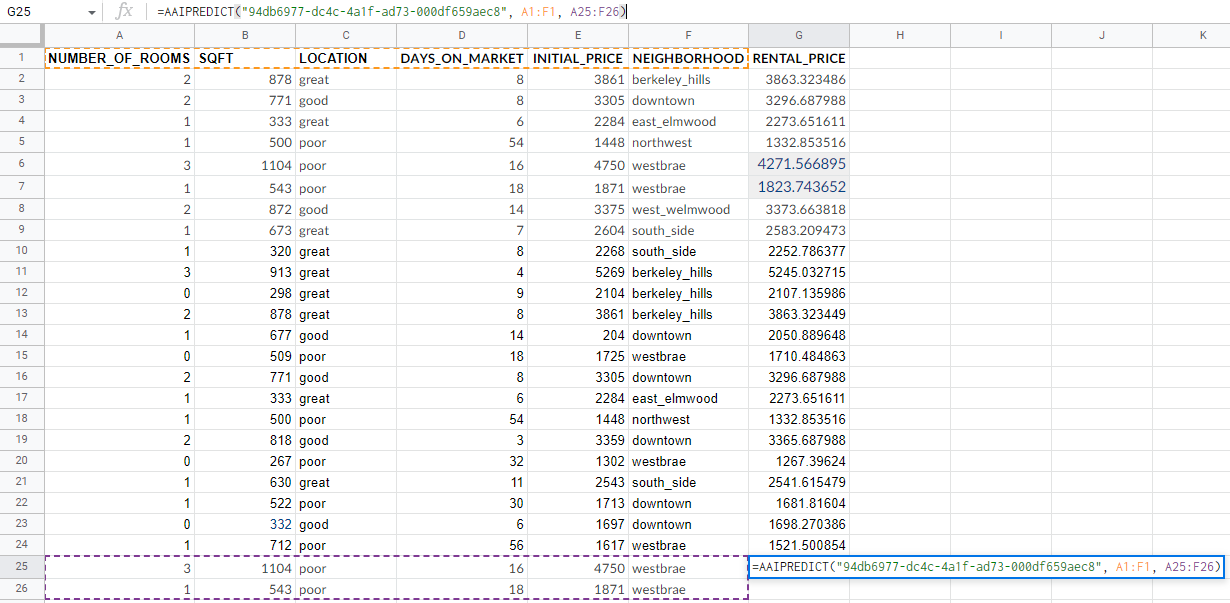
Given the table shown in the above image, the missing values in cells G25:G26 can be predicted as follows:
In the newly created sheet, go to the Google Function section and copy the value to the right of taskId:

In a cell having empty values that need to be predicted, type
=AAIPREDICT(and paste the copied value from the previous step. Enclose the value in double quotes (“):
Next, type a comma (,) to insert the next parameter to the function, which should correspond to the range of the table headers. In this example, the headers are in the range
A1:F1:
Next, type another comma (,) to insert the next parameter to the function, which should correspond to the range of cells to be used for the prediction. In this example, the features/columns are in columns
A:F, and we would like to predict rows25:26. Hence, the range isA25:F26. Finally, insert the closing bracket:
After a few moments, the cells will contain the predicted values using the trained model:

Troubleshooting
Some errors may be displayed whilst using the add-on. The following is a list of some common issues and how they can be resolved:
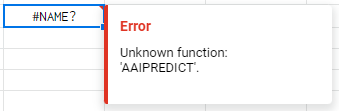
ERROR; Unknown function: ‘AAIPREDICT’.: This error might occur occasionally due to an issue from Google’s side and there isn’t a permanent fix for it yet. As a work-around, please launch the extension by going to Extensions > Actable AI > Home. Once the sidebar loads, delete the contents of the cell where the error was raised, and press the ‘Enter’ key. Then, try using the function again.
“An error occurred. Please make sure the parameters are correct.”: First, please ensure that the parameters passed to the function are correct, as detailed above. If you are confident that the parameters are correct, then please ensure that the extension is launched, by going to Extensions > Actable AI > Home. Once the sidebar loads, delete the contents in the cell where the error was raised, and press the ‘Enter’ key. Then, try using the function again.

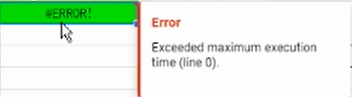
ERROR; Exceeded maximum execution time: There are time limits imposed in Google Sheets as detailed here, which will be triggerred if the Actable AI extension exceeds this limit. Unfortunately, this limit cannot be changed. However, you can try to limit the number of rows that need to be predicted, in order to lower the amount of execution time required.
Nothing happens after I click Run: Due to an issue with multiple logons on Google, try to log out of all other accounts from Google and try again.
I still got the issue: Feel free to use the Live Chat button to chat with one of our customer supports.
We might not respond immediately, feel free to leave us your email and we will get back to you as soon as possible.
How can I delete data and models trained with Actable AI: Once you click Run, your data shall be uploaded to Actable AI platform to be analyzed.
If you don’t want your data to be retained on our platform, go to our web app <https://app.actable.ai> and log in with the same Google account. After logging in, you can delete uploaded data or created analytics on our platform.